But ONLY if they are the non-rainy variety.
Thank goodness we are finally experiencing a few sunny, dare I say, Spring-like days here in Seattle. It has been 196 days since we hit 66 degrees, today's predicted high temperature. A loooooooonnnnnnnnnnnnng time. We haven't hit 66 yet but at least it was a nice enough day to break out some short sleeves (for G at least) and a picnic lunch in the backyard.
Yesterday, while mostly sunny, just wasn't as nice although that might have been due to the bloody noses, migraines, and overall blahness that invaded the house rather than the weather.
The kids and I all needed a pick-me-up and I knew exactly what it should be: Emergency Baking!
G & M both love to assist me in the kitchen and I love baking so I knew a good time would be had by all but I made sure that the recipe added a little silliness to the mix- just in case. I needed to make sure all the resident grumpopotami were kicked to the curb. Luckily I had seen a recipe that fit the bill to a tee only the night before over on Pinterest.
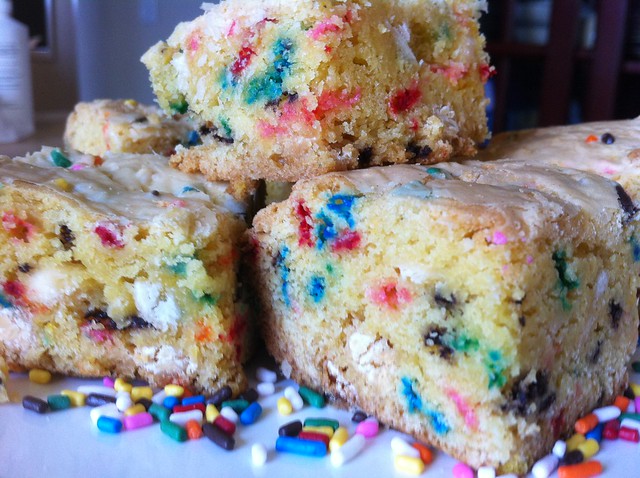
CAKE BATTER BLONDIES.
Ooooooooh yes. A little crazy but we were in dire need of food decorated with rainbow sprinkles.
I gathered up the ingredients. In perfect Murphy's Law fashion the only ingrediant not in my cupboard: the rainbow sprinkles. One quick trip to the market later we were ready to go.
While I don't mind making more complex recipes with the kiddos, this recipe was great because everything could be dumped into one bowl and stirred.
Into the oven for 30 mins. Beware. This deceptively short time frame may feel like 3 hours with some little person asking every two minutes, "Are they ready yet?"
A (very) few hard won minutes for cooling and, Voila!
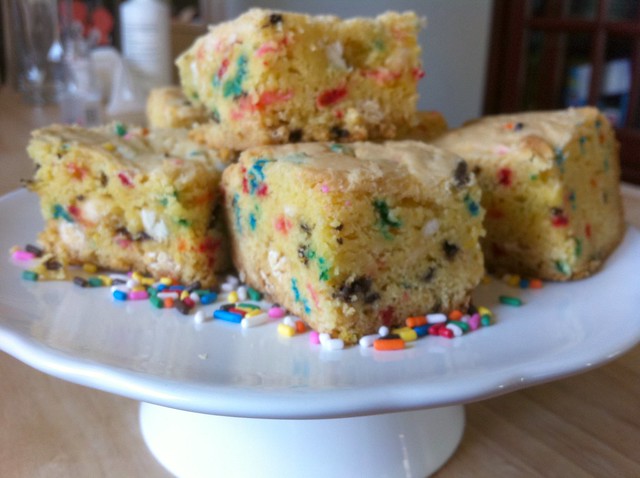
Cake Batter Blondies. Yum.
If you are interested in making these for yourself, the recipe is here at Girl Meets Life.
You know you want to make some... The 50+ repins I got in under 24 hours when I pinned this on Pinterest says that I am not the only one craving more cake batter and rainbow sprinkles in her life.
Thursday, May 19, 2011
Thursday, May 05, 2011
More Bright Green Fun. No Fur This Time.
Yesterday I committed a Cardinal Sin of Pacific Northwest Parenting. I promised my children an activity without checking the weather forecast first. Overcome by the stunning appearance of the sun and a temperature above 60 degrees, I lost my head and committed to making an afterschool trip to the zoo today so we could see the new dinosaur exhibit.
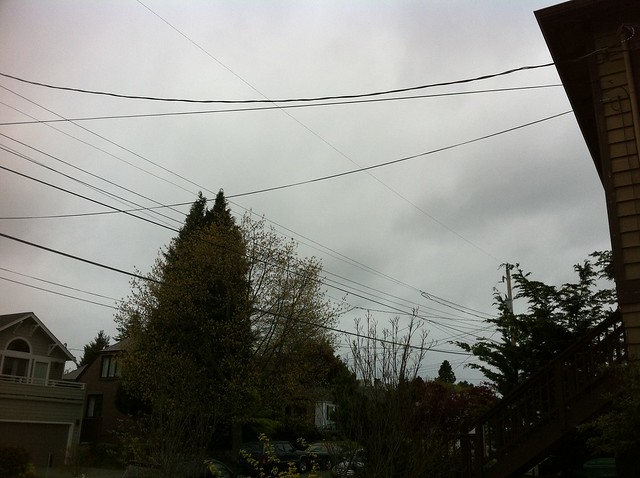
And then today we woke up to this:
Cold. Dark. Dreary. Drippy.
I love my children as much as the next parent but it has been a long winter and I just could not drag myself outside in this kind of weather again. Nuh uh. No how. No way. Not happening.
Anticipating Dual Meltdowns of Colossal Proportions, I spent the morning brainstorming for something, Anything! that would Distract and Deflect my impending doom.
Thank God for the Interwebs. My bacon was saved (again) by the Crafty Blogosphere.
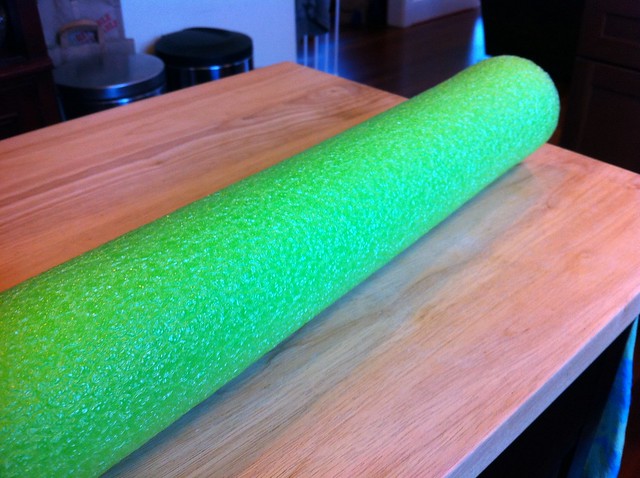
And so, I acquired this:
Yup. Bright green pool noodle.
And some black duct tape with racing style flame on it.
Perfect combination.
What? You haven't always wanted a bright green pool noodle and flame duct tape? What is wrong with you people?
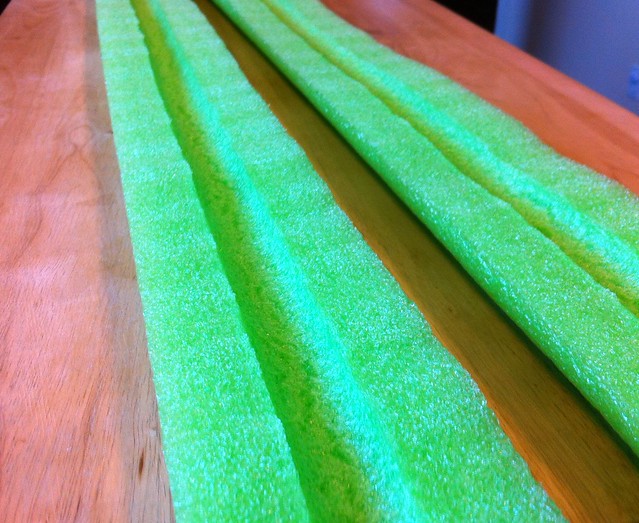
Okay, okay. What if I... Cut the noodle in half? Lengthwise.
No?
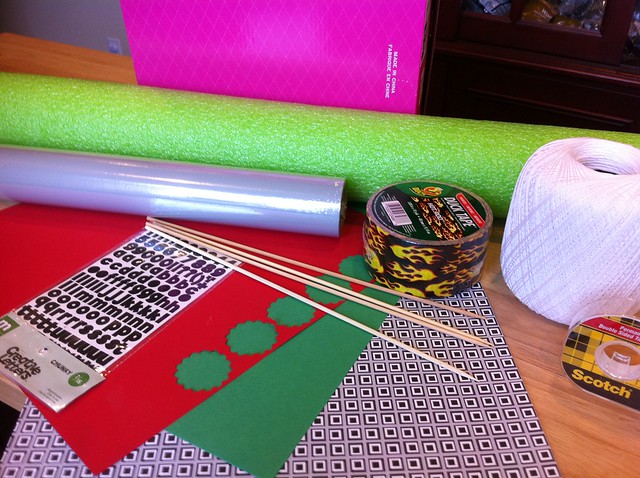
Alright then. Let's take the cut noodle and the duct tape and add
and heck, some crochet thread for good measure.
Are you with me now?
Well, you should be because this odd jumble produces a pretty cool (and cheap)
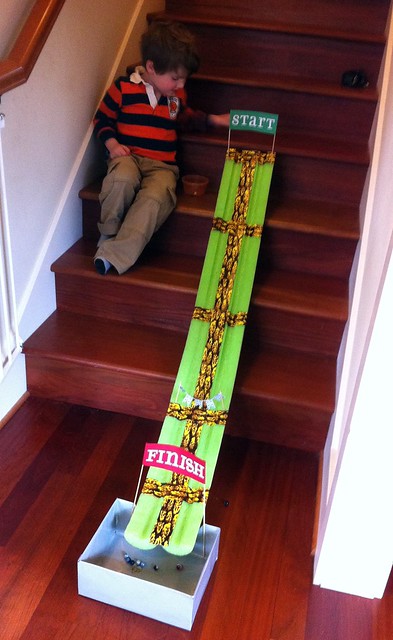
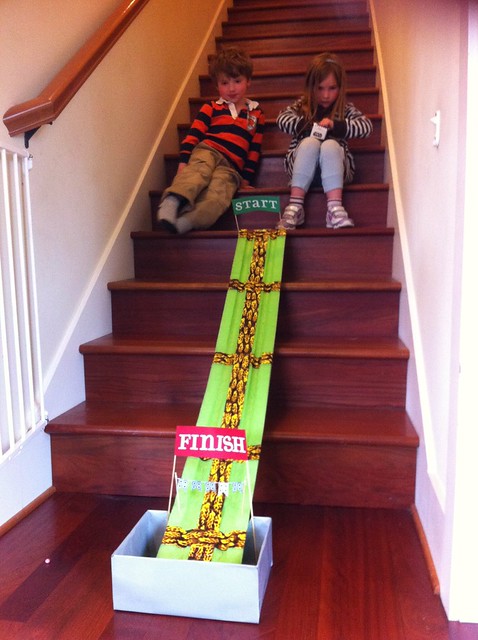
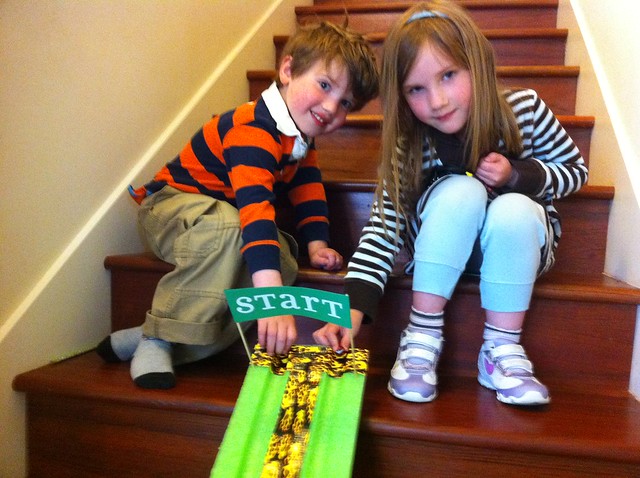
MARBLE RACE TRACK!!
My kids always love the marble tracks we see in stores or other places but I don't know if they would ever play with them enough to justify the expense- some of those wooden sets are Expensive!
This is a quick and dirty imitation which happily keeps the kidlets entertained and occupied! Hooray! (I know G doesn't look terribly pleased in that picture but she was intent on digging her marbles out of the little purse she keeps them in and was not at all interested in making nice for the camera)
All the credit for this brilliant idea goes to Amy of Serving Pink Lemonade who posted this craft as part of the Summer Soiree Craft Camp for Kids over on Home-Spun Threads.
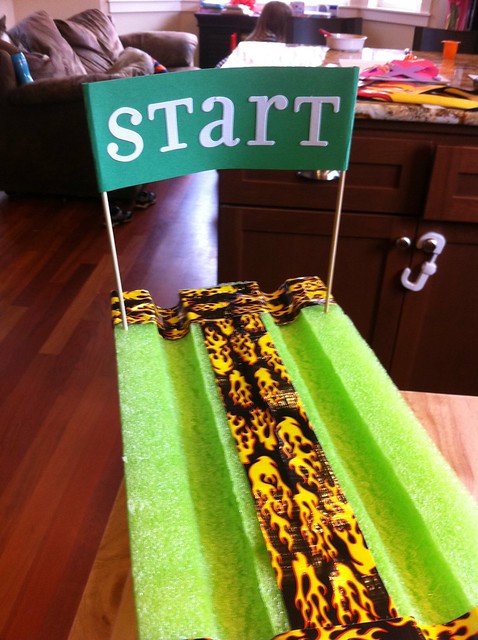
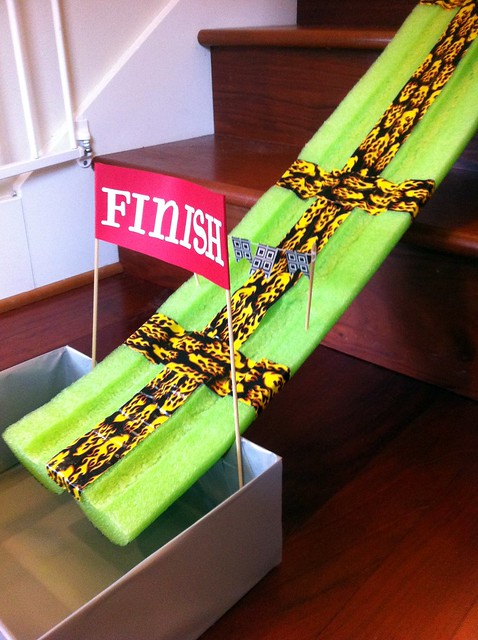
I changed the project up a bit, deciding I would duct tape my tracks together- no way MY children were going to be gentle enough to keep the tracks together with just the "flag posts" (and besides, if you are making a race track, you might as well find an excuse to use the crazy flame duct tape). I used bamboo skewers instead of toothpicks for the Start and Finish Banners.
I added some racing flags because I'm crazy like that and seem to have a penchant for adding layers of complexity to things. And lastly, I covered my shoebox in some silver wrapping paper I had lying around to give the whole thing a more finished appearance.
All around winner. The kids are pleased so I'm pleased.
Now I can cook dinner in peace.
Ready. Set. GO!
And then today we woke up to this:
Cold. Dark. Dreary. Drippy.
I love my children as much as the next parent but it has been a long winter and I just could not drag myself outside in this kind of weather again. Nuh uh. No how. No way. Not happening.
Anticipating Dual Meltdowns of Colossal Proportions, I spent the morning brainstorming for something, Anything! that would Distract and Deflect my impending doom.
Thank God for the Interwebs. My bacon was saved (again) by the Crafty Blogosphere.
And so, I acquired this:
Yup. Bright green pool noodle.
And some black duct tape with racing style flame on it.
Perfect combination.
What? You haven't always wanted a bright green pool noodle and flame duct tape? What is wrong with you people?
Okay, okay. What if I... Cut the noodle in half? Lengthwise.
No?
Alright then. Let's take the cut noodle and the duct tape and add
- a shoebox
- cardstock
- double stick tape
- bamboo skewers
- letter stickers
- wrapping paper
and heck, some crochet thread for good measure.
Are you with me now?
Well, you should be because this odd jumble produces a pretty cool (and cheap)
MARBLE RACE TRACK!!
My kids always love the marble tracks we see in stores or other places but I don't know if they would ever play with them enough to justify the expense- some of those wooden sets are Expensive!
This is a quick and dirty imitation which happily keeps the kidlets entertained and occupied! Hooray! (I know G doesn't look terribly pleased in that picture but she was intent on digging her marbles out of the little purse she keeps them in and was not at all interested in making nice for the camera)
All the credit for this brilliant idea goes to Amy of Serving Pink Lemonade who posted this craft as part of the Summer Soiree Craft Camp for Kids over on Home-Spun Threads.
I changed the project up a bit, deciding I would duct tape my tracks together- no way MY children were going to be gentle enough to keep the tracks together with just the "flag posts" (and besides, if you are making a race track, you might as well find an excuse to use the crazy flame duct tape). I used bamboo skewers instead of toothpicks for the Start and Finish Banners.
I added some racing flags because I'm crazy like that and seem to have a penchant for adding layers of complexity to things. And lastly, I covered my shoebox in some silver wrapping paper I had lying around to give the whole thing a more finished appearance.
All around winner. The kids are pleased so I'm pleased.
Now I can cook dinner in peace.
Ready. Set. GO!
Thursday, April 28, 2011
A Few Days Late and a Frame Short
When it comes to holidays, I usually have grandiose plans concerning what I am going to do and how I will decorate. My mind's eye creates stunning displays throughout the house and pictures how the whole house will come together in a Martha-esque manifestation of all things festive.
In reality? Not so much.
Oh, I usually get something done but since having kids it is usually more along the lines of: Oh dear! (____fill in the blank holiday___) is 3 days away, I should really dig something out and throw it on the mantel.
I feel terrible about this because G is really into holidays and is always bugging me to decorate for them. Oh, well. One more thing for her therapist to mull over in twenty years.
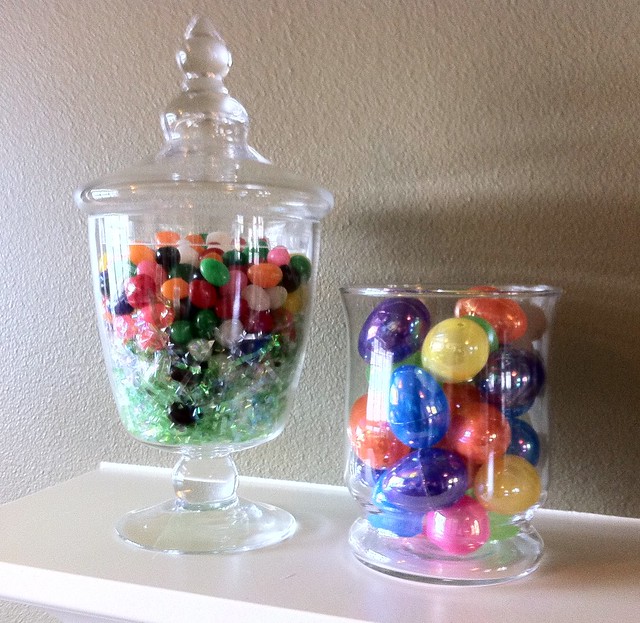
This Easter was no different. I had plans aplenty but a total lack of execution. Even the wreath I shared with you remains unhung because I cannot find an appropriate home for it. Aside from this minuscule little display on the aforementioned mantel, our house was adornment free.
Which isn't to say I didn't try. I did make the wreath after all.
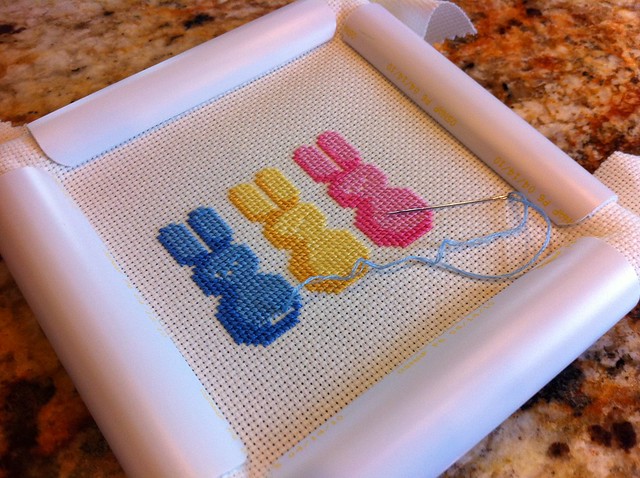
I also did a little stitching:
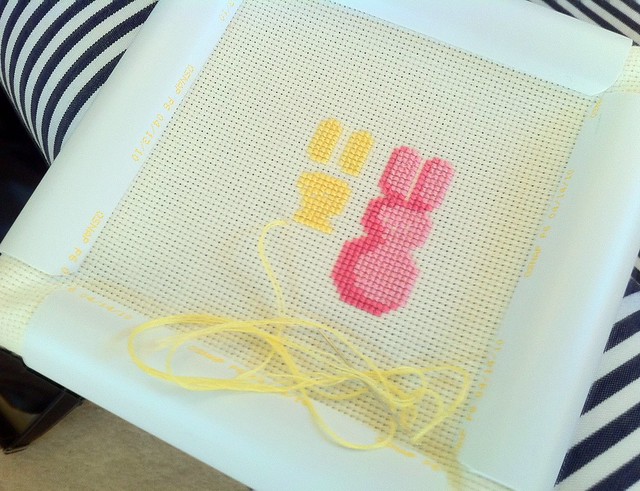
This little Peeps inspired pattern is available for free on the DMC website. I did change up the embroidery thread colors somewhat from the recommended ones using the following instead (all DMC numbers):
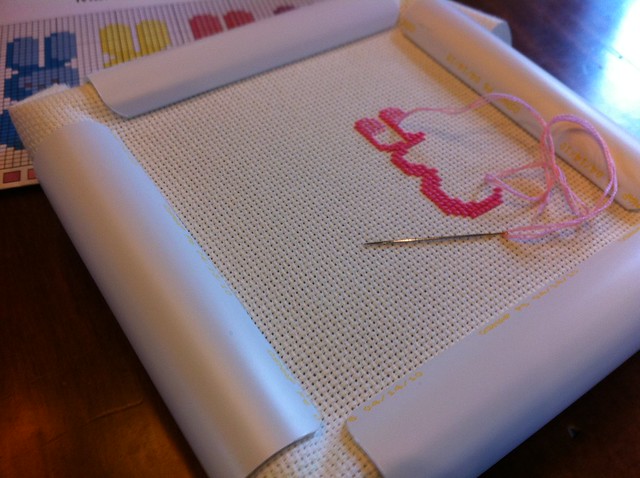
I only got to this point in the project before the actual arrival of Easter
but I went ahead and completed it a couple days ago, a miracle in its own right since normally the unfinished project would have lingered until next year. Go me!
It still needs to be finished and I think I'm going to put it in an embroidery hoop using this tutorial but I'm still debating round versus oval hoops. I'll share it with you when it is all done.
You know, maybe before next Easter.
In reality? Not so much.
Oh, I usually get something done but since having kids it is usually more along the lines of: Oh dear! (____fill in the blank holiday___) is 3 days away, I should really dig something out and throw it on the mantel.
I feel terrible about this because G is really into holidays and is always bugging me to decorate for them. Oh, well. One more thing for her therapist to mull over in twenty years.
This Easter was no different. I had plans aplenty but a total lack of execution. Even the wreath I shared with you remains unhung because I cannot find an appropriate home for it. Aside from this minuscule little display on the aforementioned mantel, our house was adornment free.
Which isn't to say I didn't try. I did make the wreath after all.
I also did a little stitching:
This little Peeps inspired pattern is available for free on the DMC website. I did change up the embroidery thread colors somewhat from the recommended ones using the following instead (all DMC numbers):
- blues - 799, 3325
- yellows - 725, 727
- pinks - 603, 605
- purples - 208, 209
- black - 310
I only got to this point in the project before the actual arrival of Easter
but I went ahead and completed it a couple days ago, a miracle in its own right since normally the unfinished project would have lingered until next year. Go me!
It still needs to be finished and I think I'm going to put it in an embroidery hoop using this tutorial but I'm still debating round versus oval hoops. I'll share it with you when it is all done.
You know, maybe before next Easter.
Wednesday, April 27, 2011
Bounced Out
I think I'm still recovering from last weekend. It wasn't too crazy but still feeling like we crammed a lot of things into a little bit of time. I mean, how hard is it to go out to dinner, hunt for eggs, attend a birthday party, go out to dinner, dye eggs, open Easter baskets, go to church, go out to brunch, and then cook a big Easter dinner?
I must be getting soft.
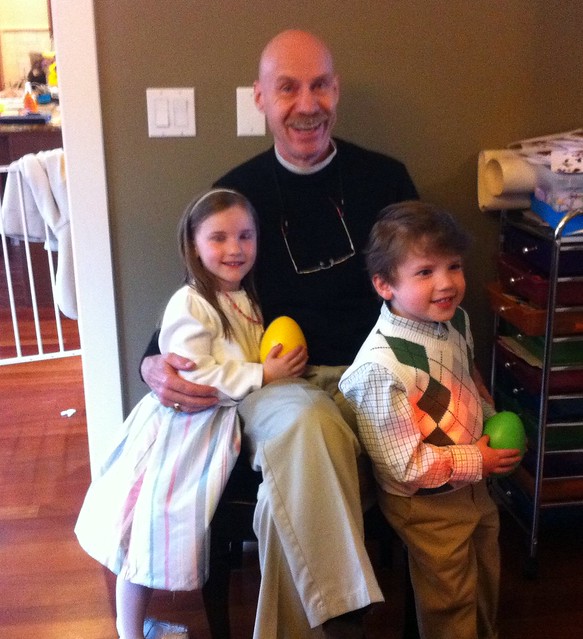
We were lucky enough to have Papa (Todd's father) come visit for the weekend and celebrate Easter with us so that added to the overall excitement level.
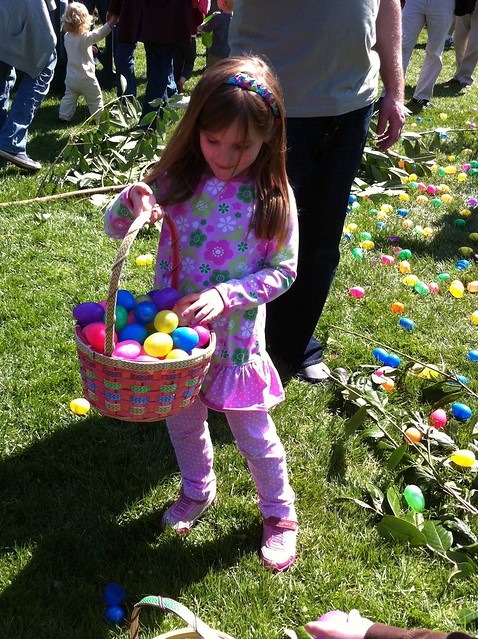
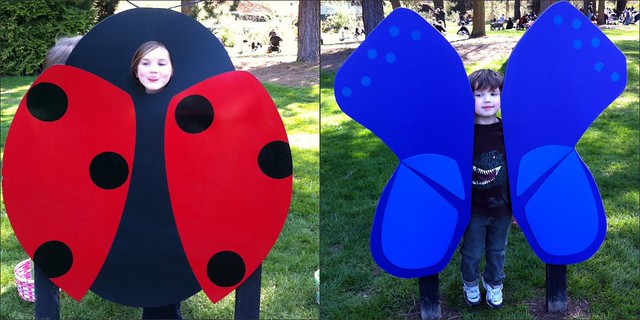
Continuing tradition, we went to the Bunny Bounce at the zoo which, due to the gorgeous weather, was crazier than it has ever been since we started going four years ago. I think this was the first year it didn't rain or threaten to rain and the weather certainly seemed to be trying to make up for past ickiness.
The kiddos had a blast and G managed to fill her basket to overflowing
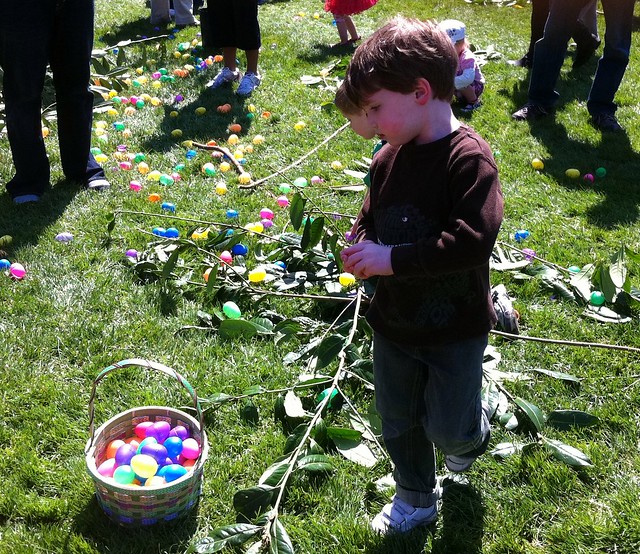
while M was a bit more methodical in his egg gathering.
There was some additional silliness
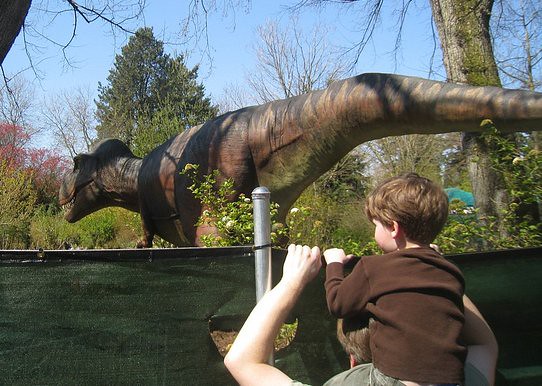
And even a sneak peek at the soon to be opened dinosaur exhibit.
Given the boy'sobsession fascination with dinosaurs, I suspect we might be back at the zoo in the very near future.
I must be getting soft.
We were lucky enough to have Papa (Todd's father) come visit for the weekend and celebrate Easter with us so that added to the overall excitement level.
Continuing tradition, we went to the Bunny Bounce at the zoo which, due to the gorgeous weather, was crazier than it has ever been since we started going four years ago. I think this was the first year it didn't rain or threaten to rain and the weather certainly seemed to be trying to make up for past ickiness.
The kiddos had a blast and G managed to fill her basket to overflowing
while M was a bit more methodical in his egg gathering.
There was some additional silliness
And even a sneak peek at the soon to be opened dinosaur exhibit.
Given the boy's
Friday, April 22, 2011
Spring in the Kitchen
This week, G had her snack day at preschool. Translation: I had to come up with a snack food that was: small, portable, not too messy, appealing to G the food snob, had not previously been taken into school for snack by G (see previous food snob comment), and wouldn't cause issues for any major food allergies in the class. Oh, and G wanted it to be "fancy like a treat" because it was almost Easter.
Clearly graham crackers were not going to cut it.
Luckily, I hit upon the idea of making decorated pretzels and G was amenable. Thank goodness because I had nothing in the idea tank if the pretzels were nixed.
The great thing about these candy/chocolate dipped pretzels is that they are very simple to make (though not fast) and the kidlets can help out (to say nothing of my lifelong love of white chocolate covered pretzels though I am sure that played no role in my decision to make these).
After much consideration, G picked a color scheme of white with Spring colored (pastel) sprinkles. The materials were purchased:
And the helpers assembled:
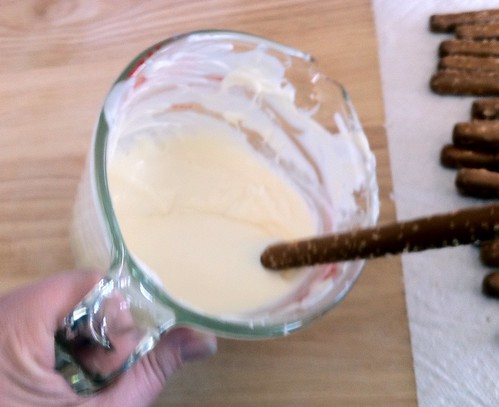
The assembly is pretty straight-forward. Melt the candy coating according to the package directions. Then dip- I use a 2 cup measuring cup so I can easily tilt the coating to get better coverage (I think a bowl is too shallow).
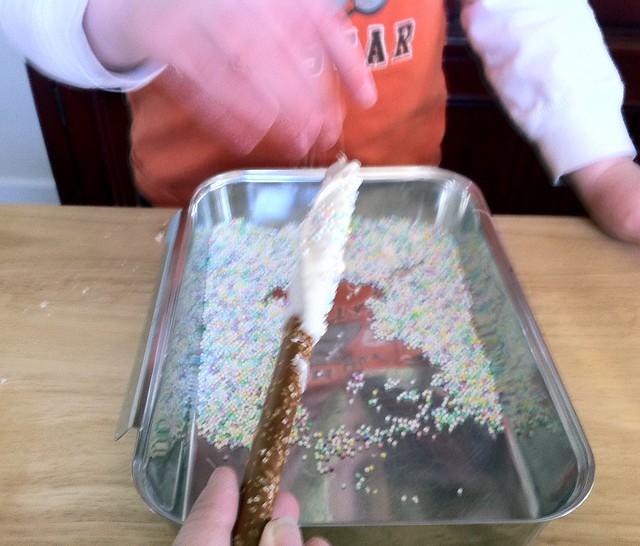
And sprinkle (I have a set of breading pans that are great for this kind of thing- I think only a third of the sprinkles ended up on my floor instead to the usual half):
We lay our pretzel outs on wax paper or parchment lined baking sheets to dry. If it is warmish you can tuck them into the freezer or frig to help things along.
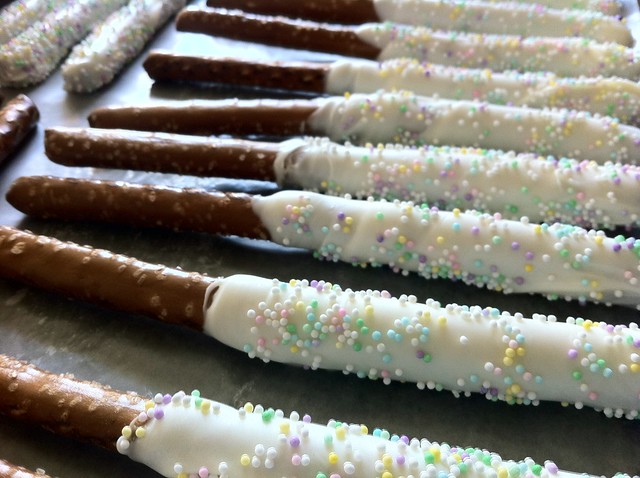
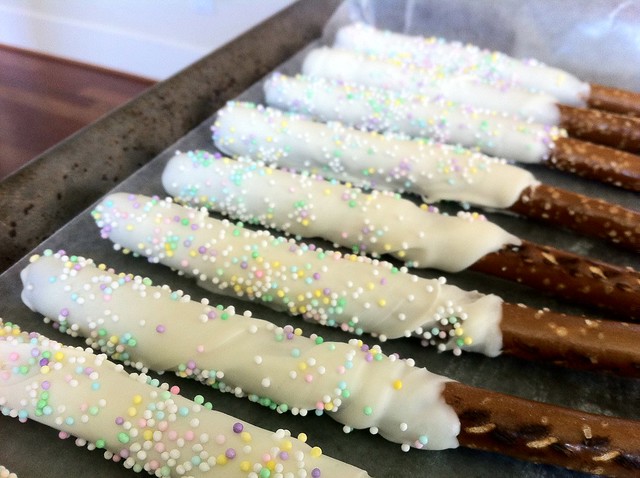
Voila! The pretzels were a big hit and G was a very happy camper.
Which means I'm a happy camper.
And now I have 5 weeks to figure out what our next snack will be...
Clearly graham crackers were not going to cut it.
Luckily, I hit upon the idea of making decorated pretzels and G was amenable. Thank goodness because I had nothing in the idea tank if the pretzels were nixed.
The great thing about these candy/chocolate dipped pretzels is that they are very simple to make (though not fast) and the kidlets can help out (to say nothing of my lifelong love of white chocolate covered pretzels though I am sure that played no role in my decision to make these).
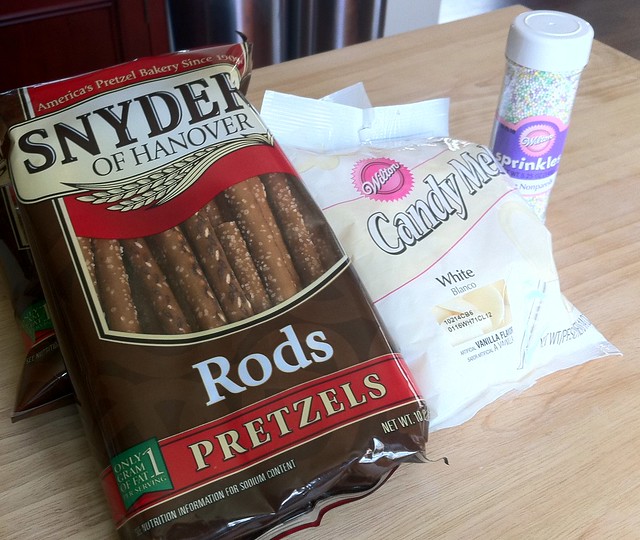
After much consideration, G picked a color scheme of white with Spring colored (pastel) sprinkles. The materials were purchased:
pretzel logs, candy melts or chocolate, and sprinkles
And the helpers assembled:
The assembly is pretty straight-forward. Melt the candy coating according to the package directions. Then dip- I use a 2 cup measuring cup so I can easily tilt the coating to get better coverage (I think a bowl is too shallow).
if I make this photo somewhat smaller than the others will it hide the fact that is is blurry?didn't really think so but thought it was worth a try.
And sprinkle (I have a set of breading pans that are great for this kind of thing- I think only a third of the sprinkles ended up on my floor instead to the usual half):
We lay our pretzel outs on wax paper or parchment lined baking sheets to dry. If it is warmish you can tuck them into the freezer or frig to help things along.
Voila! The pretzels were a big hit and G was a very happy camper.
Which means I'm a happy camper.
And now I have 5 weeks to figure out what our next snack will be...
Wednesday, April 20, 2011
Bright Green Fun Fur. Really.
So earlier today I put my knitter's cred on the line when I posted this on Twitter:
It's okay, I'll give you a minute to recover.
*
*
*
*
Better?
Good.
What good could possibly come of such a skein of yarn? Actually, quite a lot.
Ack! No! Don't close your browser. Truly, it is Okay...
Provided, of course, that you don't let it within a country mile of your knitting needles. Some background: Earlier this month I went on a lovely retreat with my fellow Purly Girls and I took this picture at Fort Worden, our retreat location, in Port Townsend.
I adore daisies. To me, they are the epitome of Spring. And believe you me, we could use a little Spring here in the Pacific Northwest. I won't bore you with the weather stats but April has been something of a drag.
So, to recap: I love daisies, I need Spring, and there is a horrible skein of novelty yarn involved here somehow. Oh, yes, I almost forgot. I also have an obsession with wreaths at present that is quickly approaching epic proportions.
I know, I know. Where I am going with this?
Right here:
Turns out, Fun Fur might make for dreadful knitting but, in the right colorway, it makes wonderful grass. Which only goes to prove that everything has its place, even eyelash yarn, scary as that is to contemplate.
I wish I could pretend that I am terribly clever and came up with this idea all on my own but alas, I am merely a very good copycat. I found the original over on Capture the Details.
I love the pop of color this very simple project provides but sadly I have no idea where to hang it. I walked around my house for twenty minutes this morning trying to find the Perfect Spot. Didn't even find one that is Merely Adequate. sigh In the end I took down a picture and hung the wreath in its spot just so I could get a picture. This does not bode for the other wreaths I have lined up to make.
I also learned that my house, as much as I like it, is not a Blogger's house. The window placement is not ideal for taking pictures in natural light. Oh well. Photography is hardly my thing anyway. But it would be So Fun to take gorgeous photos of all my wreaths (you know, the ones I'm crafting in my head and then hanging in my fantasy house that is Just Perfect for hanging wreaths).
Do you think I could use my Wreath Adoration to justify a remodel?
Me neither.
Monday, April 18, 2011
Apropos of Nothing...
When you haven't written anything in... well... forever, there just aren't enough segues in the world to make it less awkward and so today I give you:
PILLOWCASES!
Because really, why not?
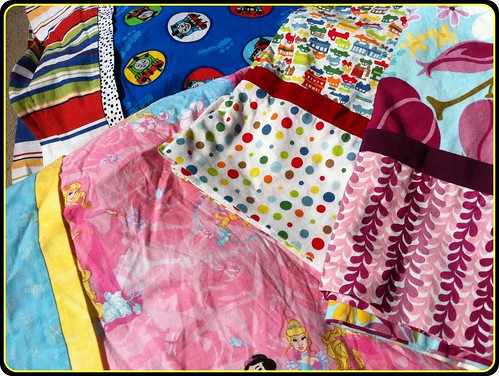
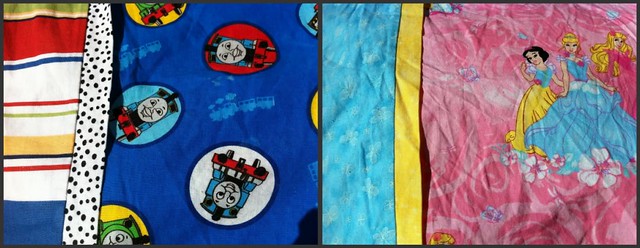
As usual, I am late to this sewing trend but I finally jumped on the bandwagon and made four fun pillowcases for the kidlets. Thomas the Tank Engine for M and Princesses for G- no surprises there are there? These match blankets I made for them a year ago Valentine's Day.
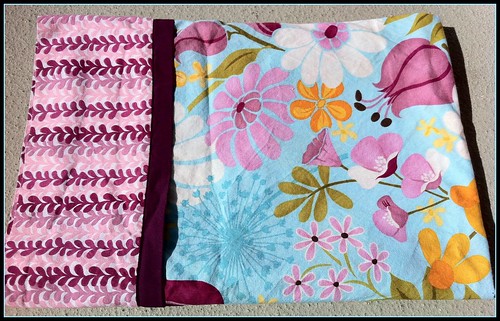
I wanted to make some non-character cases as well so I picked up two prints from Kate Spain's Central Park Line (I love this line like a crazy person):
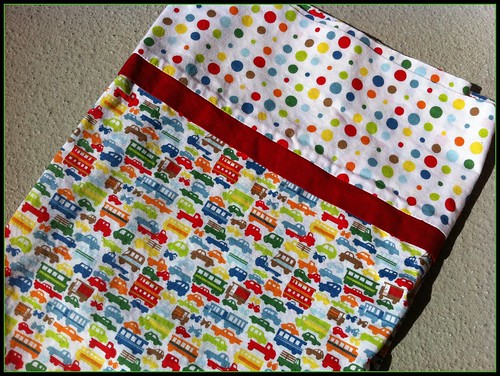
And the super cute Rush Hour from Alexander Henry's Monkey Bizness Line.
Sadly I forget who makes the dot fabric. And also sadly, I forgot to iron the pillowcases before photographing them. Oh well, that's just the kind of two-bit blogging operation we've got here. I should also mention that the Rush Hour and Central Park photos are of the pillowcases folded, so you are not seeing the correct proportions... but, you get the idea.
And yes, for you eagle-eyed sewists out there- I did not take into account the directional nature of the car print before I cut the fabric. Meh. My husband is always telling me to accept good enough and not worry about perfect. I let it go... but I made sure I cut the Thomas fabric correctly!
If you would like to make pillowcases of your own there are an unbelievable number of tutorials out there and I feel like I read them all but in the end I used the technique in this video and I am very pleased with the results. It wasn't a difficult project and not even too time consuming.
Subscribe to:
Posts (Atom)